How Do You Make Nail Polish?
Nail Polish Composition and Manufacturing: How Do You Make Nail Polish
How do you make nail polish – Nail polish, a seemingly simple cosmetic product, involves a complex interplay of chemistry and manufacturing processes to achieve its desired properties. This article delves into the ingredients, manufacturing techniques, formulation variations, and safety considerations involved in creating nail polish.
Nail Polish Ingredients
Understanding the chemical composition of nail polish is crucial to appreciating its properties and potential effects. Key ingredients contribute to the polish’s color, shine, durability, and application characteristics.
| Ingredient | Chemical Name (Example) | Function |
|---|---|---|
| Film Former (Resin) | Nitrocellulose, Acrylic Polymers | Creates the durable film on the nail. |
| Solvent | Ethyl Acetate, Butyl Acetate | Dissolves the film former, allowing for easy application. |
| Plasticizer | Dibutyl Phthalate (DBP) | Increases flexibility and prevents brittleness. Note: DBP is increasingly restricted due to health concerns. |
| Pigment | Various organic and inorganic compounds | Provides color. |
Different resins, such as nitrocellulose and acrylic polymers, offer varying degrees of flexibility, hardness, and gloss. Nitrocellulose provides a fast-drying, hard finish, while acrylic polymers often offer increased flexibility and chip resistance.
Nail Polish Manufacturing Process

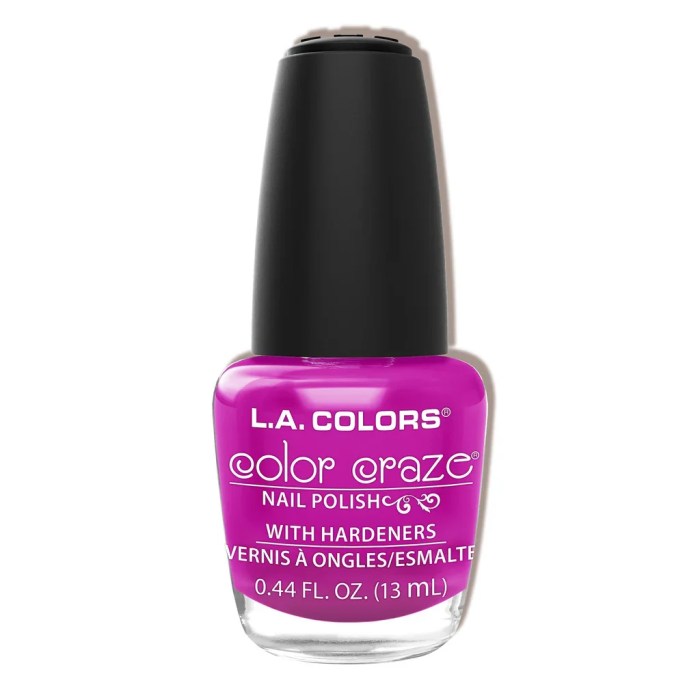
Source: walmartimages.com
The industrial production of nail polish is a precise process involving several key phases.
Creating nail polish involves blending pigments, resins, and solvents. The consistency is crucial; if it becomes too thick during the manufacturing process, the application becomes difficult. Fortunately, there are solutions! If you’re dealing with thickened polish, check out this helpful guide on how do you fix thick nail polish to restore its usability. Understanding how to fix thick polish is a valuable skill, even for those who make their own nail polish at home.
- Ingredient Preparation: Raw materials are weighed and measured accurately according to the formulation.
- Mixing and Blending: Ingredients are mixed in a controlled environment using specialized equipment to ensure uniform dispersion of pigments and other components. This often involves high-shear mixing to prevent agglomeration.
- Filtration: The mixture is filtered to remove any impurities or undissolved particles, resulting in a smooth, consistent product.
- Quality Control: Rigorous testing is performed at various stages to ensure the viscosity, color, and other properties meet specifications. This includes checks for color consistency, drying time, and adhesion.
- Packaging: The finished nail polish is filled into bottles, labeled, and sealed.
DIY Nail Polish Recipes
While creating professional-grade nail polish requires specialized equipment, simple DIY versions are possible. However, safety precautions are paramount.
Safety Precautions: Always work in a well-ventilated area, wear gloves, and avoid skin contact with ingredients. Dispose of waste properly.
- Recipe 1 (Simple): Combine clear nail polish base with desired pigment powder. Adjust consistency with thinner if needed.
- Recipe 2 (Glitter): Mix clear nail polish base with fine glitter. Add a small amount of adhesive to help the glitter stay in place.
- Recipe 3 (Metallic): Combine clear base with a metallic pigment powder. Experiment with different amounts for varying intensity.
- Substitute for clear base: A clear top coat.
- Substitute for thinner: Acetone (use with caution).
- Substitute for pigment: Crushed eyeshadow (use caution, may not be as durable).
For a glitter nail polish, simply mix fine glitter into a clear nail polish base until the desired glitter density is achieved. A small amount of adhesive, such as a clear nail glue, can be added to improve glitter adhesion.
Nail Polish Formulation Variations, How do you make nail polish

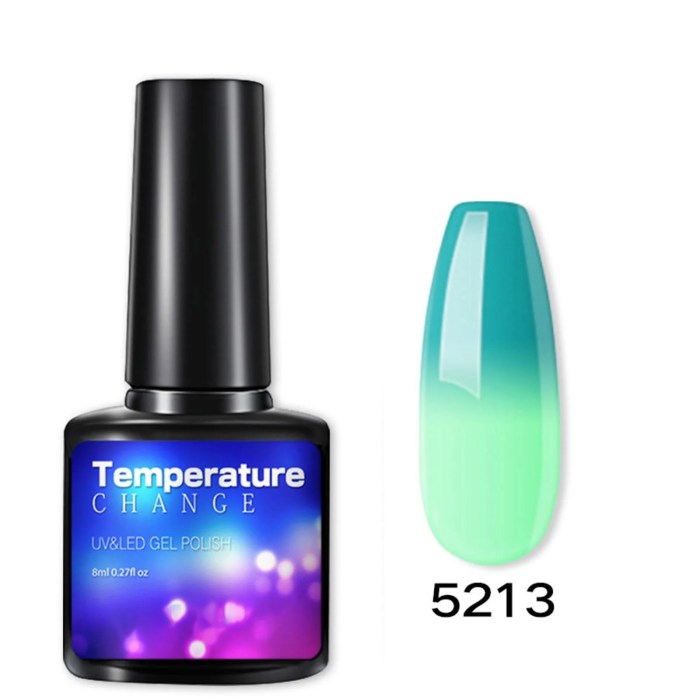
Source: walmartimages.com
Different types of nail polish cater to various needs and preferences.
- Regular Nail Polish: Solvent-based, dries quickly in air.
- Gel Nail Polish: Requires UV or LED curing for hardening. More durable and long-lasting.
- Matte Nail Polish: Contains additives to reduce shine, creating a flat finish.
Viscosity is controlled by adjusting the solvent-to-resin ratio. Higher solvent concentration leads to lower viscosity (thinner polish), while lower solvent concentration results in higher viscosity (thicker polish). Pigment concentration directly impacts color intensity and opacity; higher concentration yields deeper, more opaque colors.
Color Creation and Pigmentation
Creating custom nail polish colors involves careful selection and mixing of pigments.
| Pigment Type | Effect | Example Combination | Resulting Color (Approximate) |
|---|---|---|---|
| Pearl | Iridescent shine | White + Blue + Pearl | Light Blue with Pearl Sheen |
| Metallic | Metallic luster | Gold + Bronze | Deep Gold |
| Opaque | Full color coverage | Red + White | Pink |
Mixing pigments requires careful experimentation to achieve desired shades and tones. Start with small amounts and gradually add more until the desired color is obtained. Different pigment types can be combined to create unique effects.
Packaging and Presentation

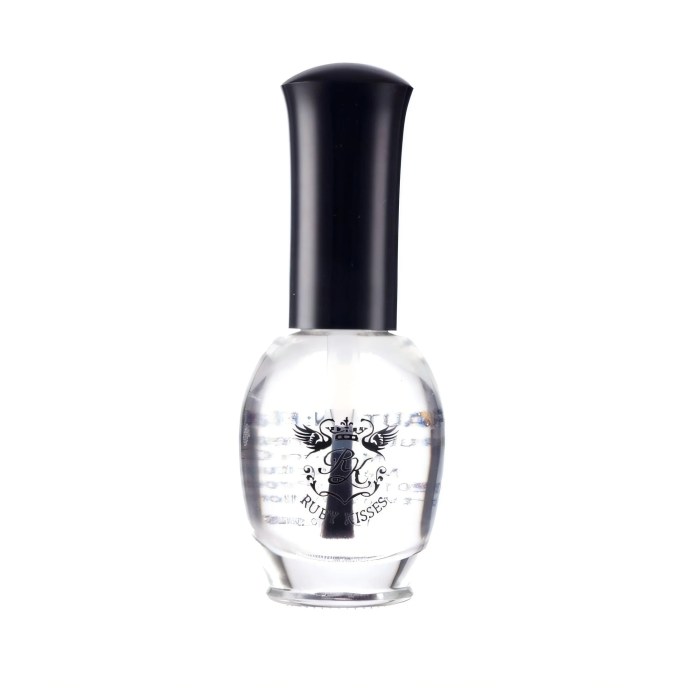
Source: walmartimages.com
Nail polish packaging is crucial for both functionality and aesthetics.
An ideal nail polish bottle might be a sleek, cylindrical glass bottle with a comfortable, easy-to-grip cap. The label should clearly display the brand name, color name, and relevant safety information. The bottle should be sealed securely to prevent leakage and maintain product quality. A clear window would allow for easy color identification.
Potential Hazards and Safety Measures
Nail polish manufacturing and use involve potential hazards, necessitating appropriate safety measures.
Potential hazards include exposure to solvents, pigments, and other chemicals. Safety measures include using proper ventilation, wearing personal protective equipment (PPE) such as gloves, eye protection, and respirators, and following proper disposal procedures for waste materials. Specific PPE requirements depend on the chemicals used and the manufacturing process.
FAQ Guide
What are the most common mistakes when making nail polish at home?
Common mistakes include inaccurate ingredient measurements, improper mixing techniques leading to clumping, and neglecting safety precautions when handling solvents.
Can I reuse old nail polish bottles?
Thoroughly clean and sterilize used nail polish bottles before refilling them to prevent contamination. Ensure they are completely dry before adding new polish.
How long does homemade nail polish last?
Homemade nail polish typically lasts for several months if stored properly in a cool, dark place, away from direct sunlight and extreme temperatures. Always check for any signs of separation or change in consistency before use.
Where can I source high-quality nail polish ingredients?
Specialty chemical suppliers and online retailers catering to cosmetic formulators often provide high-quality ingredients. Always verify the supplier’s reputation and ensure they adhere to safety standards.


