How to Remove Nail Polish Easily
Nail Polish Removal Methods
How to remove a nail polish – Removing nail polish effectively involves understanding the different types of removers and employing the correct techniques. This section details various methods, focusing on acetone-based and acetone-free options, and addresses challenges like stubborn or glitter polishes.
Acetone-Based vs. Acetone-Free Nail Polish Removers
Acetone-based removers are generally faster and more effective, particularly for long-lasting or glitter polishes. However, they can be harsher on nails and surrounding skin, potentially leading to dryness and brittleness. Acetone-free removers, on the other hand, are gentler but may require more time and effort for complete removal.
Removing Nail Polish with Cotton Balls and Remover
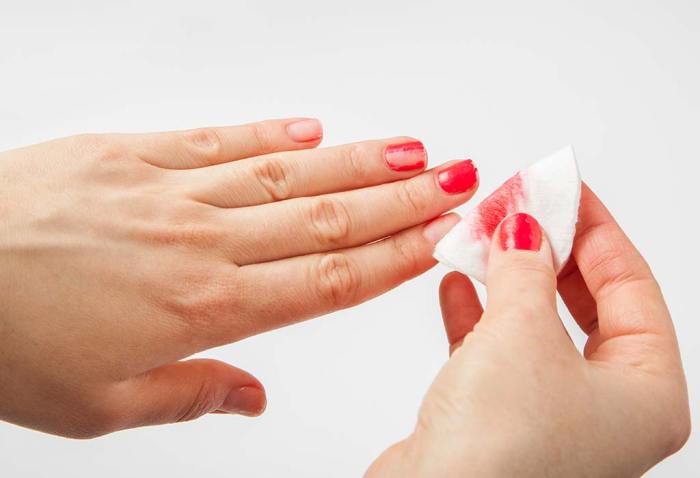
This method is straightforward and widely used. The process involves saturating a cotton ball with nail polish remover, gently holding it against the nail, and carefully wiping away the polish.
- Saturate a cotton ball with nail polish remover.
- Hold the cotton ball firmly against your nail for about 10-15 seconds to soften the polish.
- Gently wipe the polish away, working from the cuticle to the tip of the nail.
- Repeat as needed, using a fresh cotton ball for each nail.
- Once all polish is removed, wash your hands with mild soap and water.
Removing Stubborn or Glitter Nail Polish
Glitter and long-wearing polishes often require extra care and patience for removal. Soaking the nails in remover for a longer period or using multiple cotton balls can aid in this process.
- Soak cotton balls in remover and place them on each nail, securing them with foil for 15-20 minutes to fully saturate the polish.
- Use a cuticle pusher or orangewood stick to gently scrape away stubborn glitter particles.
- Be patient and avoid excessive scrubbing to prevent nail damage.
Comparison of Nail Polish Remover Types
| Remover Type | Pros | Cons | Suitable For |
|---|---|---|---|
| Acetone-Based | Fast removal, effective on stubborn polishes | Can dry out nails and skin, strong odor | All nail polish types, especially stubborn ones |
| Acetone-Free | Gentler on nails and skin, milder odor | Slower removal, may not be effective on all polishes | Sensitive skin, regular nail polish |
| Non-Acetone | Often contains moisturizing ingredients | Slowest removal, least effective on long-lasting polishes | Sensitive skin, occasional use |
Preparing for Nail Polish Removal
Proper preparation ensures a smoother and more efficient nail polish removal process. This includes gathering the necessary materials and creating a safe and well-ventilated environment.
Removing nail polish is straightforward; simply soak cotton pads in acetone-based remover and hold them against your nails. The waiting time depends on the polish’s tenacity, and to understand this better, consider how long the polish takes to dry in the first place; check out this helpful guide on how long does regular nail polish take to dry for a better understanding.
Once sufficiently softened, gently wipe away the polish, revealing your natural nails.
Necessary Materials for Effective Nail Polish Removal
Having the right tools readily available streamlines the process. This typically includes nail polish remover, cotton balls or pads, a cuticle pusher (optional), and a hand cream for post-removal care.
Importance of Proper Ventilation When Using Acetone-Based Removers
Acetone-based removers release strong fumes. Adequate ventilation, such as opening a window or using a fan, is crucial to prevent inhalation of these fumes, which can cause headaches, dizziness, or respiratory irritation.
Checklist Before Starting Nail Polish Removal
- Gather all necessary materials: remover, cotton balls/pads, cuticle pusher (optional).
- Ensure adequate ventilation in the area.
- Protect your work surface with a towel or newspaper.
- Wash your hands to remove any dirt or debris.
Addressing Specific Nail Polish Issues
This section addresses challenges often encountered during nail polish removal, including dealing with gel or shellac polish and resolving staining issues.
Removing Gel or Shellac Nail Polish at Home
Removing gel or shellac requires a specific process. It is often best to use a specialized remover designed for this type of polish. These removers typically involve soaking the nails in the remover for an extended period of time to weaken the polish.
Potential Problems During Nail Polish Removal
Problems such as nail staining or damage can occur. Using excessive force or harsh removers can lead to nail thinning or breakage.
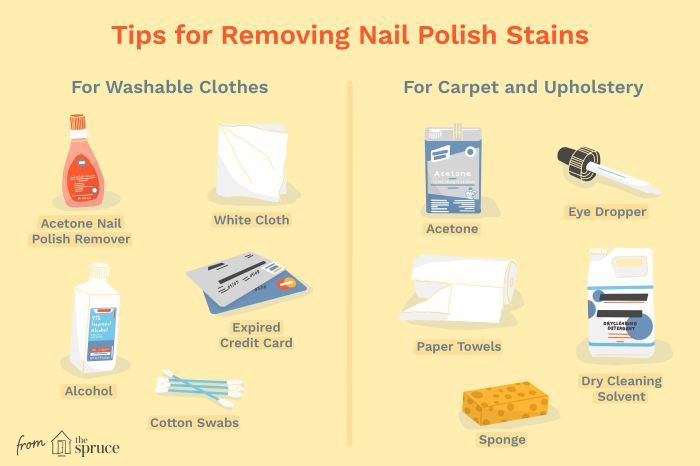
Removing Nail Polish Stains from Skin
Nail polish stains on skin can be treated with various methods, including using a gentle scrub or soaking the affected area in warm, soapy water.
Tips to Minimize Nail Damage During Removal, How to remove a nail polish
- Use a gentle remover, preferably acetone-free.
- Avoid excessive scrubbing or harsh rubbing.
- Soak nails in remover instead of aggressively wiping.
- Apply cuticle oil and moisturizer after removal.
Post-Removal Nail Care
Post-removal care is essential for maintaining healthy nails. Moisturizing and conditioning are key steps in this process.
Moisturizing and Conditioning Nails After Polish Removal
Applying a rich moisturizer or cuticle oil after removing nail polish helps to replenish lost moisture and prevent dryness and brittleness.
Benefits of Using Cuticle Oil
Cuticle oil softens and hydrates the cuticles, promoting healthy nail growth and preventing hangnails. Regular use can significantly improve nail health.
Properly Filing and Shaping Nails After Removing Polish
Filing nails should be done gently in one direction to prevent splitting or damage. Use a fine-grit file and avoid sawing back and forth.
Choosing a Nourishing Hand Cream
Look for hand creams containing ingredients like shea butter, vitamin E, or aloe vera, known for their moisturizing and soothing properties.
Illustrative Examples

Source: cdnparenting.com
Visual observations during the removal process can highlight the differences between acetone-based and acetone-free removers, and help in identifying nail damage.
Nail Appearance Using Acetone-Based Remover
Before removal, the nails show a consistent color and smooth texture of the polish. During removal, the polish dissolves quickly, leaving the nail bed exposed. The nail may appear slightly drier or more translucent immediately after removal, but the natural nail color remains unchanged. The texture remains smooth.
Nail Appearance Using Acetone-Free Remover
Before removal, the nails exhibit the same initial appearance as with acetone-based remover. During removal, the process is slower; the polish gradually softens and comes off in layers. The natural nail color remains unchanged, and the nail texture remains smooth. There is less chance of dryness immediately after removal.
Appearance of Damaged Nails

Source: thespruce.com
Damaged nails may appear brittle, thin, or have ridges or grooves on the surface. They might also be prone to splitting or breaking easily. Discoloration, such as yellowing or white spots, can also indicate damage. The texture can feel rough and uneven to the touch.
FAQ Resource: How To Remove A Nail Polish
Can I use regular hand soap to remove nail polish?
No, regular hand soap is not effective for removing nail polish. It lacks the solvents needed to dissolve the polish.
What should I do if I get nail polish remover on my skin?
Immediately wash the affected area with soap and water. If irritation persists, consult a dermatologist.
How often should I remove my nail polish?
It’s generally recommended to remove nail polish every 7-10 days to allow your nails to breathe and prevent potential damage or staining.
Is it harmful to remove nail polish too frequently?
Yes, frequent nail polish removal can weaken and dry out your nails, leading to brittleness and breakage. Allow your nails rest periods without polish.


